 Pin It
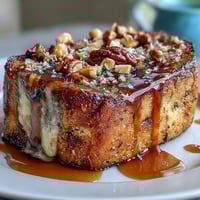
 There's something about the smell of honey warming in a saucepan that makes a quiet morning feel intentional. I discovered this granola recipe on a weekend when I was tired of the same cereal routine, and honestly, it changed how I thought about breakfast. The beauty of it is how simple it is—just a handful of ingredients that transform into these golden, crunchy clusters that taste like you spent hours in the kitchen. That fleur de sel finish was the real revelation though, that unexpected saltiness cutting through the sweetness in a way that made me want another handful before the bowl was even half empty.
I made this for my sister's book club gathering one Sunday, mostly because I wanted an excuse to use the fancy sea salt I'd been hoarding. She mentioned it casually to a friend, and that friend asked me for the recipe before dessert was even served. Now I get texts asking if I'm making a fresh batch, which is both flattering and a little demanding in the best way.
Ingredients
- Old-fashioned rolled oats (3 cups): These are essential because they're sturdy enough to toast without falling apart, unlike instant oats which turn into dust.
- Raw nuts (1 cup, roughly chopped): Almonds, pecans, or walnuts each bring their own flavor—I've learned that a mix actually works better than sticking to just one.
- Unsweetened shredded coconut (1/3 cup, optional): This adds texture and a subtle richness, but skip it if coconut isn't your thing.
- Ground cinnamon (1/2 teaspoon): Just enough to whisper through the batch without overpowering the honey.
- Honey (1/2 cup): This is your sweetener and binding agent, so don't skimp on quality—darker honey gives deeper flavor.
- Neutral oil (1/3 cup): Sunflower, grapeseed, or melted coconut oil all work, but neutral oils help the honey shine without competing flavors.
- Pure vanilla extract (1 teaspoon): A small amount adds complexity that makes people wonder what the secret ingredient is.
- Fleur de sel (1/2 teaspoon plus extra for sprinkling): This is the magic—don't substitute regular salt, the crystals and delicate flavor make all the difference.
Tired of Takeout? 🥡
Get 10 meals you can make faster than delivery arrives. Seriously.
One email. No spam. Unsubscribe anytime.
Instructions
- Heat your oven and prep:
- Preheat to 325°F and line a baking sheet with parchment paper—this temperature is the sweet spot where everything toasts evenly without burning. A lower heat means you have more time to catch the perfect golden moment.
- Mix the dry ingredients:
- In a large bowl, combine oats, chopped nuts, coconut if using, and cinnamon until everything is evenly distributed. This is the moment where you'll hear that satisfying rustle of oats sliding together.
- Warm the wet ingredients:
- Pour honey and oil into a small saucepan and warm over low heat just until they combine—you're not cooking them, just loosening them up. Remove from heat and stir in vanilla, letting that aroma fill your kitchen.
- Coat everything:
- Pour the honey mixture over the dry ingredients and mix thoroughly, making sure every oat and nut gets a glossy coating. Use a spatula or sturdy spoon and don't be shy about the mixing—this determines how well clusters form.
- Spread and press:
- Spread the mixture in an even layer on your prepared baking sheet and press down lightly with a spatula to encourage cluster formation. Think of it like creating a foundation that will break apart just right when it's done.
- Toast until golden:
- Bake for 25–30 minutes, stirring halfway through for even browning—watch around minute 20 because it can go from golden to overdone quickly. Your kitchen will smell absolutely incredible, so resist the urge to open the door too often.
- Salt while warm:
- The moment it comes out of the oven, sprinkle generously with fleur de sel while everything is still warm so the salt adheres. This timing is crucial because the salt won't stick properly once it cools.
- Cool completely and store:
- Let it cool all the way on the baking sheet—resist breaking it up while it's still warm or you'll end up with granola instead of clusters. Once completely cool and crisp, break it into pieces and store in an airtight container where it keeps for up to two weeks.
 Pin It
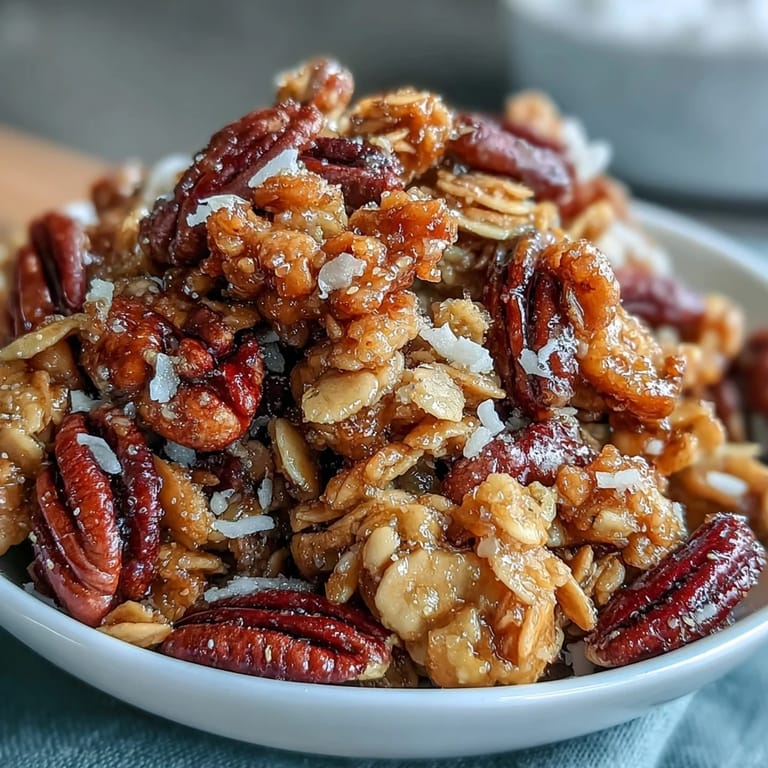
 There was a morning when I made a fresh batch and my neighbor stopped by unexpectedly. I offered her a bowl with Greek yogurt, and she closed her eyes after the first spoonful like she was experiencing something profound. That's when I realized this granola had become more than breakfast—it was the thing I made when I wanted someone to feel cared for.
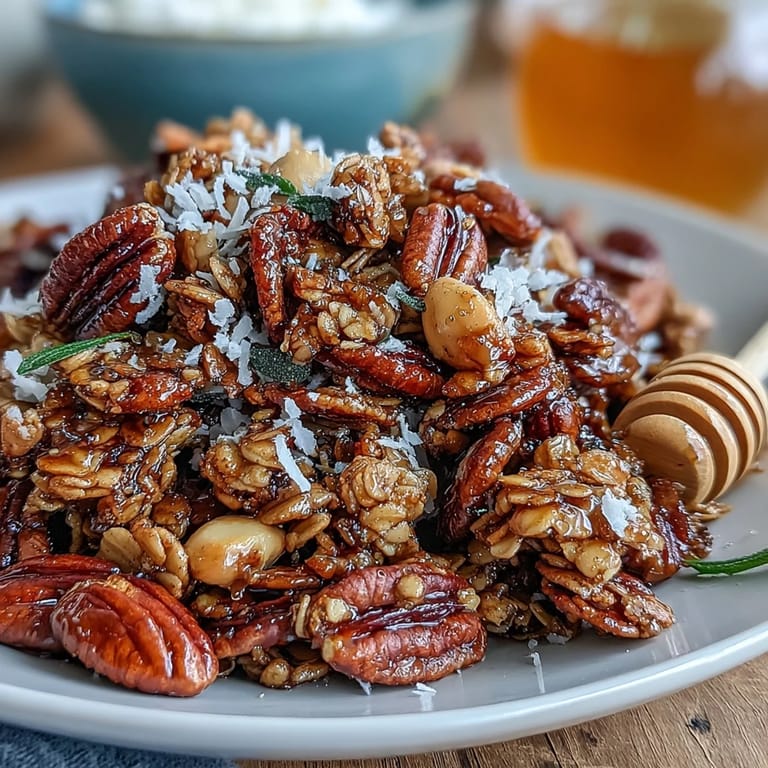
The Salt Secret
The fleur de sel isn't just a finishing touch; it's the entire philosophy of this granola. That delicate sea salt has larger crystals than regular table salt, which means they don't dissolve completely—you get these little moments of pure salinity that wake up your taste buds and make the sweetness feel more sophisticated. I've tried it with regular kosher salt before out of necessity, and it's fine, but it loses that textural element and the flavor becomes flatter. The salt-sweet combination is what keeps people reaching back into the bowl, that push-pull between two extremes that somehow feels balanced.
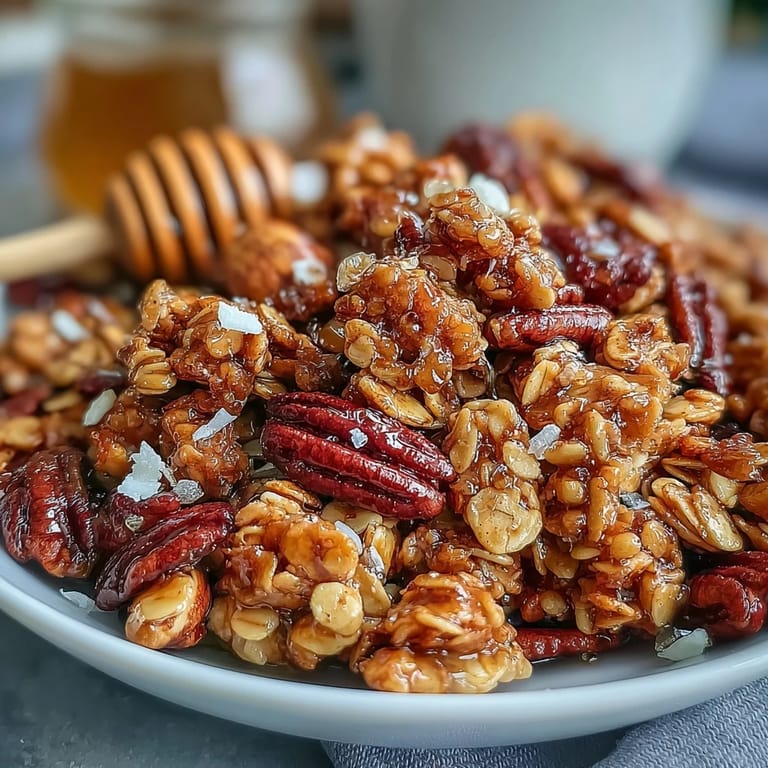
Making Clusters That Actually Stay Together
Getting proper clusters instead of individual oats is really about three things working together. First, pressing down gently when you spread the mixture ensures the honey binds everything tightly, creating a foundation that will break into chunks rather than crumble. Second, you need to let it cool completely untouched on the sheet—breaking it up while it's warm releases steam and prevents proper setting. Third, the honey-to-oat ratio matters; too little liquid and you get granola, too much and it becomes a dense clump that's hard to portion.
Ways to Make It Your Own
Once you master the basic formula, this granola becomes a canvas for whatever sounds good that week. Dried cranberries, cherries, or apricots can be mixed in after baking so they stay chewy instead of hardening in the oven. For a completely nut-free version, use pumpkin seeds and sunflower seeds instead, which toast beautifully and give you that satisfying crunch. You can also experiment with different nut combinations—hazelnuts bring a fancy sophistication, while cashews make it feel more luxurious and buttery.
- Add dried fruit after cooling to keep them soft and chewy rather than baked hard.
- Toast seeds with the oats if you're making a nut-free batch for the same flavor development.
- Store finished granola in a glass airtight container away from sunlight to keep it crunchy for the full two weeks.
 Pin It
 This is the kind of recipe that sneaks into your regular rotation and suddenly you're making it weekly without even planning to. There's something deeply satisfying about having a homemade breakfast that tastes better than anything you could buy, waiting in a jar on your shelf.
Recipe Questions & Answers
- → How do I achieve crunchy clusters?
Press the oat and nut mixture firmly on the baking sheet before baking, then avoid stirring too much to preserve clusters.
- → Can I use different nuts?
Yes, mix almonds, pecans, walnuts, or your preferred nuts for varied flavor and texture.
- → Is shredded coconut necessary?
It’s optional; adding shredded coconut gives a subtle tropical hint and extra texture but can be skipped.
- → What is fleur de sel’s role?
Sprinkling fleur de sel after baking enhances flavor by balancing sweetness with a delicate salty note.
- → How should it be stored?
Once cooled, break into clusters and store in an airtight container at room temperature for up to two weeks.