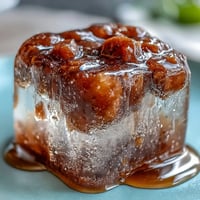
 Pin It
 I discovered these protein cheesecake cups on a lazy Sunday afternoon when I was standing in my kitchen, staring at a container of Greek yogurt that was about to expire and wondering if I could make something actually delicious out of my post-workout protein powder. The thought of turning gym fuel into a dessert that didn't taste like cardboard felt like a small miracle. These cups came together so effortlessly that I've been making them ever since, often doubling the batch because everyone gravitates toward the fridge whenever I do.
I made these for my brother after he started meal prepping, and watching him eat one straight from the fridge at six in the morning before his run made me realize I'd created something actually useful, not just tasty. He now texts me photos of his batch throughout the week, which is maybe the highest compliment a recipe can get.
Ingredients
- Oat flour: This forms the foundation and gives you a natural, tender base that doesn't require baking, though almond flour works beautifully if you're avoiding gluten or want a nuttier flavor.
- Almond or peanut butter: Either one binds the base together and adds richness, so choose whichever one you actually enjoy eating because it makes a real difference in the final taste.
- Honey or maple syrup: Just enough sweetness to balance the base without making it cloyingly sweet, and it helps everything hold together as you press it down.
- Cream cheese: Use the reduced-fat kind here because it blends smoothly with Greek yogurt and lets the protein shine through instead of overwhelming everything.
- Greek yogurt: This is your secret weapon for creaminess and additional protein without adding heaviness, so don't skip it or substitute regular yogurt.
- Vanilla whey protein powder: Two scoops is the sweet spot for texture and taste, though you can adjust based on how much protein you're aiming for and your powder's sweetness level.
- Lemon zest: Optional but genuinely transformative, adding a brightness that cuts through the richness and makes the whole thing feel less heavy.
Tired of Takeout? 🥡
Get 10 meals you can make faster than delivery arrives. Seriously.
One email. No spam. Unsubscribe anytime.
Instructions
- Mix the foundation:
- Combine oat flour, almond butter, honey, and salt in a bowl, stirring until you have a crumbly texture that holds together when you squeeze it. This usually takes just a minute or two, and you'll know it's ready when everything is evenly moistened.
- Build your bases:
- Distribute the mixture among muffin liners, pressing down firmly with your fingers or the back of a spoon to create an even, compact layer. The pressure matters here because a loose base will crumble when you remove the liners later.
- Create the creamy layer:
- Beat the softened cream cheese until completely smooth, then fold in Greek yogurt, protein powder, honey, vanilla extract, and lemon zest, mixing until everything is incorporated and creamy with no visible streaks. This is where you control the sweetness, so taste as you go and adjust if needed.
- Fill and finish:
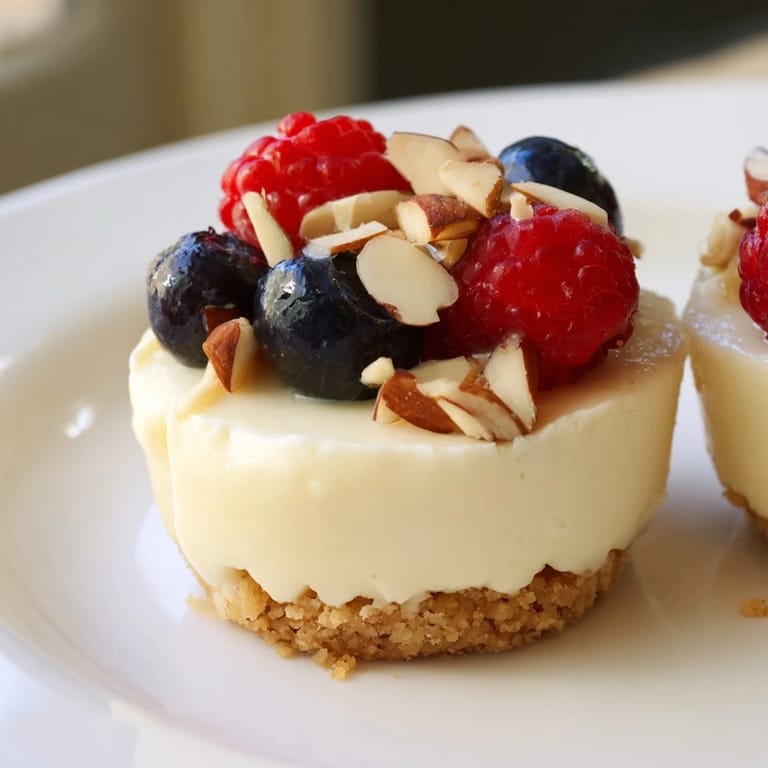
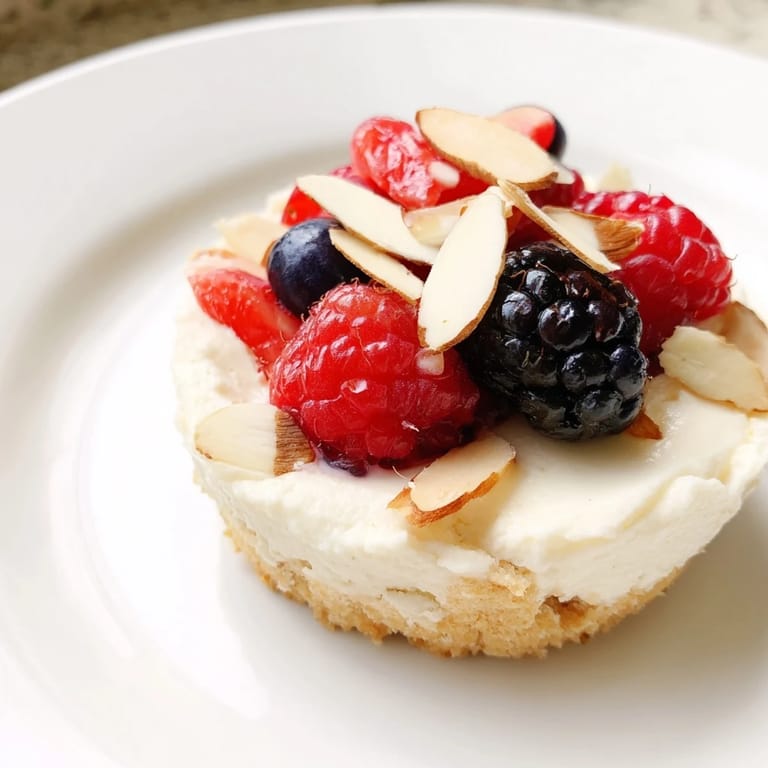
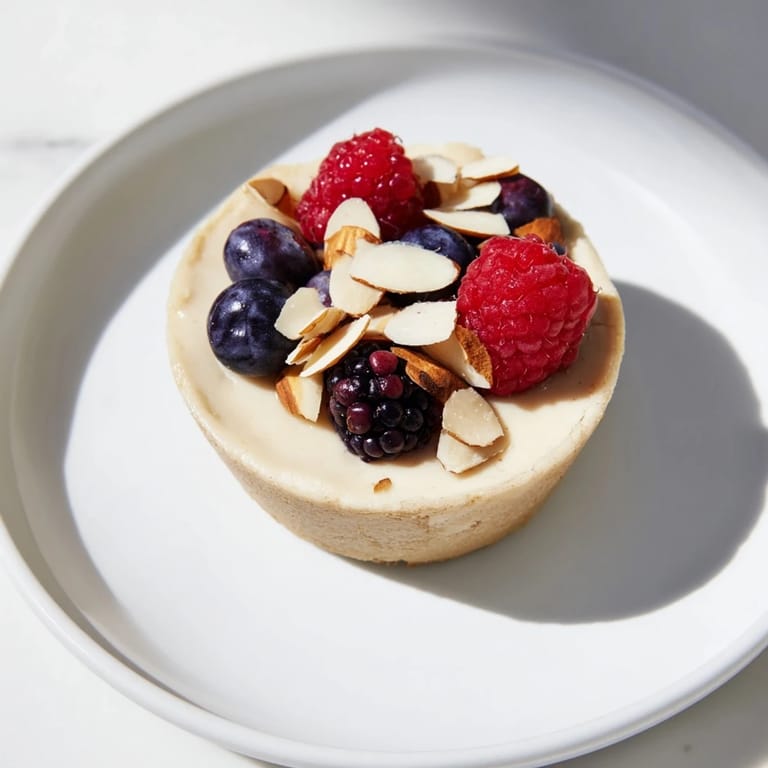
- Spoon the cheesecake mixture generously over each base, smoothing the tops with a spatula so they're level. Add your chosen toppings now if you're using them, pressing berries or nuts gently into the surface so they stay in place.
- Set and enjoy:
- Refrigerate for at least two hours, or longer if you have time, until the mixture is completely firm and set. Once chilled, slide each cup out of its liner and serve straight from the fridge, where it'll stay fresh for up to five days.
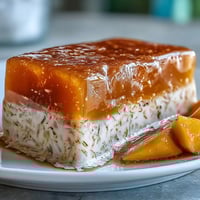
 Pin It
 I'll never forget the moment my ten-year-old nephew asked if he could have another one because he thought it was actual dessert, not "healthy food," and that's when I realized these cups had crossed over into something special. They stopped being a practical snack and became a small joy in the fridge.
Why the Base Matters More Than You Think
The base is where people stumble, either pressing too lightly and ending up with a crumbly mess or forgetting that the almond butter is doing half the work of holding everything together. I learned this the hard way when my first batch fell apart spectacularly, and now I press down like I'm establishing the foundation of a tiny edible building. The texture contrast between a firm, slightly grainy base and the creamy filling above it is what makes these feel indulgent instead of just healthy.
Customizing Your Toppings is Where Magic Happens
Fresh berries are beautiful, but I've discovered that the real flavor magic comes from combinations that surprise you, like dark chocolate shavings with a tiny pinch of sea salt, or crushed pistachios with a drizzle of honey. The toppings aren't just decoration; they're your chance to make each cup taste intentional and personal. I've even experimented with a tiny spoonful of berry compote on top, and the tart fruit against the creamy sweetness changes everything in the best way.
Storing and Keeping Them Fresh
These cups live happily in the refrigerator for about five days in an airtight container, though I've never actually had any last that long because they disappear almost as soon as they're set. The freezer is also your friend if you want to make a double batch on a Sunday and have them ready for the entire week ahead. If you're prepping these for travel or want them to stay extra firm, leave them in the fridge overnight instead of just two hours.
- Remove them from the fridge about five minutes before eating if you prefer them slightly softer and creamier than straight-from-the-fridge cold.
- Don't freeze them with toppings on if you're storing for later, or the berries will weep and the nuts will get soggy.
- These travel surprisingly well in a cooler if you're packing them for a picnic or road trip, staying perfectly set during a four-hour drive.
 Pin It
 These cups have become my answer to the question every health-conscious person asks themselves: how do I eat something that actually tastes good while also not undoing all the work I do at the gym? They're humble enough for a Tuesday afternoon snack but elegant enough to serve when someone stops by unexpectedly.
Recipe Questions & Answers
- → Can I make these cups gluten-free?
Yes, using almond flour or gluten-free oat flour ensures the base remains gluten-free. Just check all ingredients are certified gluten-free.
- → What is the best way to sweeten the filling?
Honey or maple syrup provides natural sweetness and blends well with the creamy texture, but you can adjust according to taste.
- → Can I substitute the protein powder?
You can replace vanilla whey protein with a plant-based protein powder, taking care to maintain the creamy consistency.
- → How long should the cups chill before serving?
Chill for at least 2 hours to allow the filling to set firmly and develop its flavors.
- → What toppings work best for these cups?
Fresh berries, chopped nuts, and dark chocolate shavings complement the creamy filling with texture and flavor contrasts.